Hi everyone, this time I’ll show you some photo manipulation techniques to design a dramatic image depicting a “Artificial intelligence” concept. Let’s get it started!
Preview
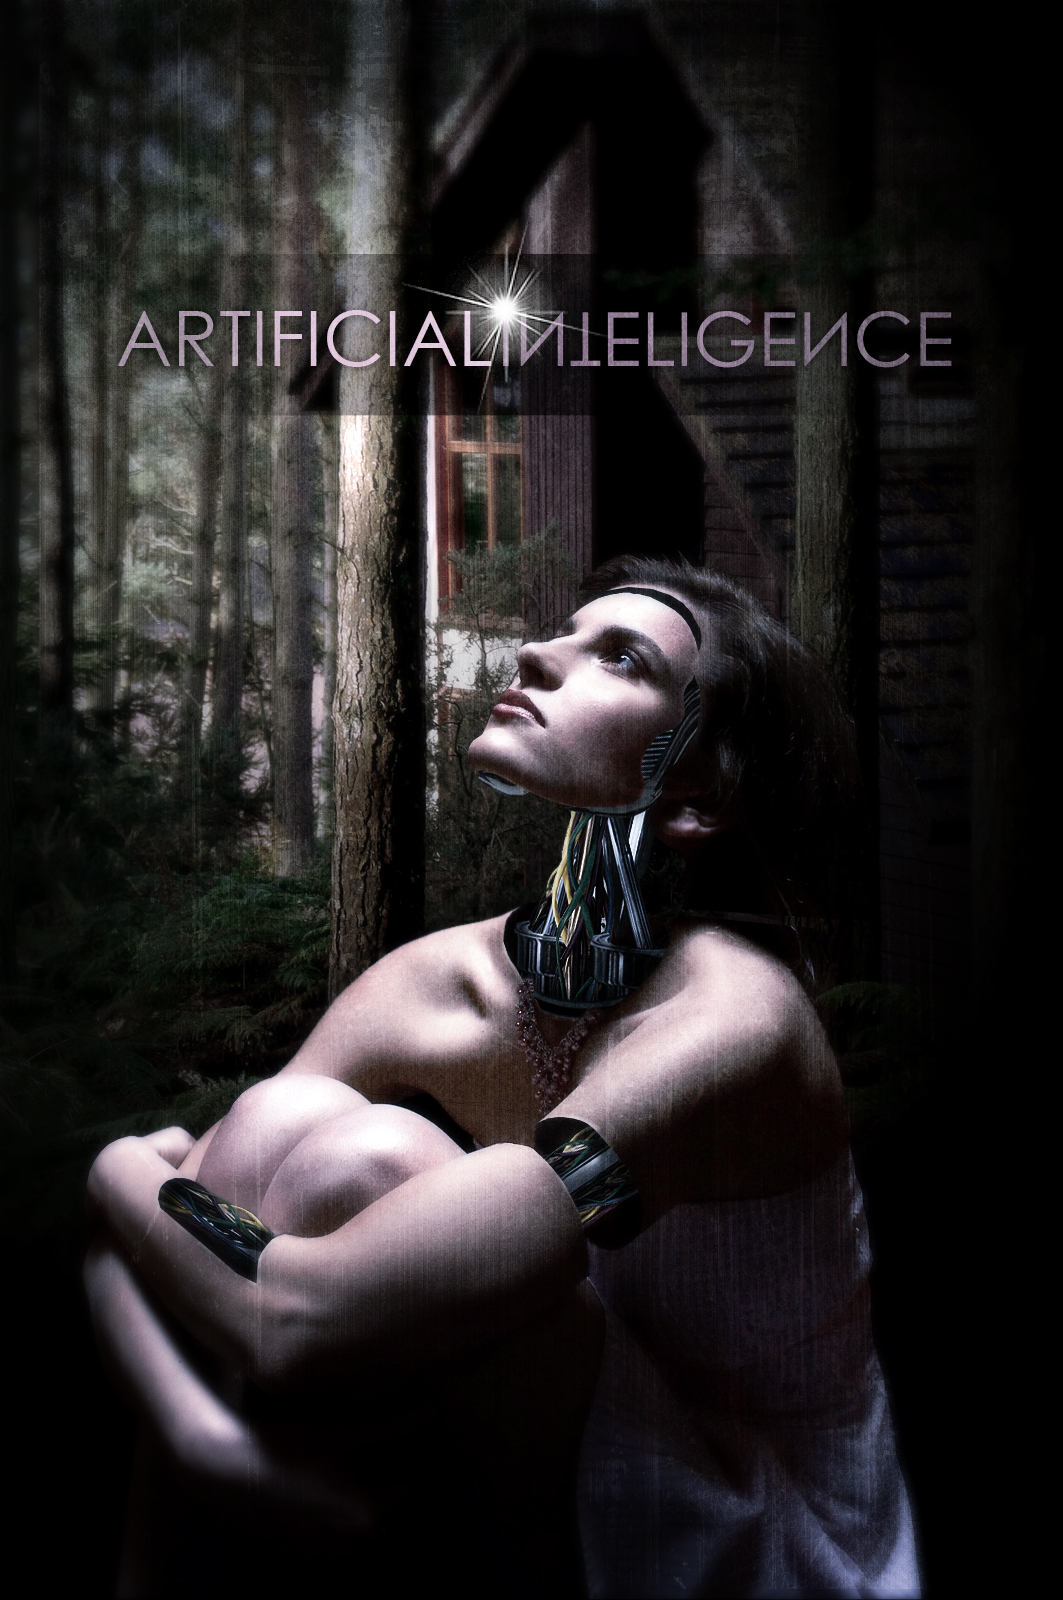
This is a preview of the final effect.
Step 1
Open this image as is and double click on “background” layer to make it editable, rename the layer to “girl” then adjust Levels and auto adjust Curves to lighten the image a little bit.

Step 2
Extract the girl from the black background, and add a new Fill layer below “girl” layer.

Step 3
Paste this picture by hotblack as a background into a new layer named “forest”, go to Layer > Layer Mask > Hide All and using the Gradient Tool, paint a Radial Gradient White – Black on the layer mask.

Step 4
Create a new layer above all the other, name it “Light” and fill it with a Reflected Gradient White – Black and adjust the curves as shows the image below to add more light stripes. Distort the layer using Transform options and Command (Ctrl) + Click on the corners. Then change layer’s Blend Mode to Saturation, and Opacity to 45%.

Step 5
Select “Girl” layer, then using the Lasso tool, select an irregular shape over girl’s face. Copy the selection and paste it into a new layer named “Face”.

Step 6
Select “Girl” layer once more, then using the Lasso select the entire body, take special care on the neck, make the selection rounded there, you can follow the necklace shape to make it right. Copy and paste the selection into a new layer named “Body”.

Step 7
Duplicate “Girl” layer and hide the original. Select “Girl copy” and using the Burn Tool darken girls’ neck, chin and cheek.

Step 8
Select “Girl” layer once more, select and copy a little piece of forehead, hair and ear. Copy and paste it above “Face” layer.

Step 9
Next, select “Body” layer and select a section of the arm and cut it. Hiding “Girl copy” layer you’ll see how it looks. Then make visible “Girl copy” once more, and using the burn tool darken some areas of “Girl copy” layer. Repeat this process as many times as you want in several places.

Step 10
Download this image by henry_azui, select a long piece of chrome metal and copy it. Paste it into a new layer between “Body” and “Girl copy” layer, Feel free to transform the bars to make them match your design.

Step 11
Select a bended piece of metal, Rotate it, Warp it and place it as a robotic mandible. Remember, put this metallic piece between “Body” and “Girl copy” layers.

Step 12
Duplicate the previous metallic part. Adjust the Lightness on Hue / Saturation window to make it darker. Transform it and place it as the right side of the mandible.

Step 13
Select and copy a little engine’s piece. Paste it, resize the shape and place it somewhere over the mandible.

Step 14
Paste the previous metal piece again, warp it as you want to place it as the girl’s chest.

Step 15
Continue adding metal, this time select a thin piece and paste it twice as shown in the image below.

Step 16
Add more metal on the chest.

Step 17
And so on, you can add as many metal as you desire, everywhere.

Step 18
Next, grab this picture of some colored wires, extract them from the white background and place it above “Metal” layers (I put all the metal in a folder by the way) and below “Body” layer. Put as many copies of the wires as you want.

Step 19
Select “Girl copy” layer, select the dark part behind the metal and wires and delete that selection.

Step 20
Select the clone tool and a tiny brush. Select “Body” layer and clone some skin areas over the knees, chest and dress to increase the cut out illusion.

Step 21
Use the dodge tool to create a peeled border effect.

Step 22
Create a new layer below “Body” layer and using a big soft black Brush, paint some shadows to increase the deep sensation.

Step 23
Merge all the layers, or put all the layers into a folder, name it “Image” duplicate it and merge it. Duplicate the copy and Blur it a little bit, then apply a Radial Gradient Layer Mask to the blurred copy.

Step 24
To increase the dramatic effect, add a Gradient Map adjustment layer (#0F2344 – #A2B5F0). Change its Blend Mode to Overlay and opacity to 55%.

Conclusion
Finally add further details, I’m adding a fibers texture on top, some text and a spark. Is up to you now!

No comments:
Post a Comment