Step 1
This tutorial is made up of three parts—the background, the text itself, and some final extra effects. So first of all we’re going to make a background. To do this we create a new document in Photoshop. I made mine 1920 x 1200 because I want this image to sit on my laptop background.
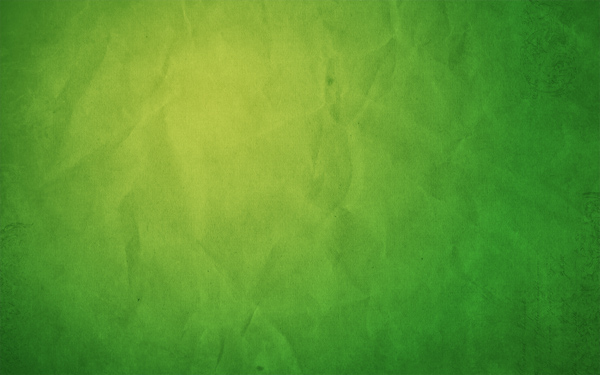
We start by drawing a Radial Gradient with the Gradient Tool (G) going from a light yellow-green (#adbf41) to a mid-range green (#328a26). I wonder if I’ve ever written a tutorial that doesn’t start with a radial gradient. :-)

Step 2
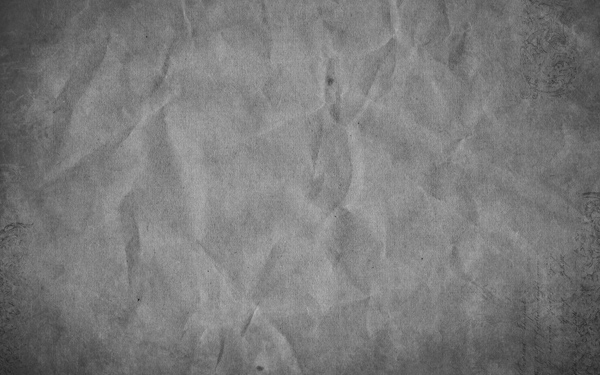
Now for this image we want to create a really textured background, faintly resembling paper. So the first thing we need is … a paper texture!
Happily you can grab some really awesome grungy paper textures from Bittbox and they are nice and large too, which is good because this is a huge canvas.
So I can’t remember which texture I used first, but grab one, desaturate it (Ctrl+Shift+U) and stretch it over the top to fit the canvas.
Step 3
Now we set the layer to Overlay and 70% Opacity to blend the texture with our nice green background.
Step 4
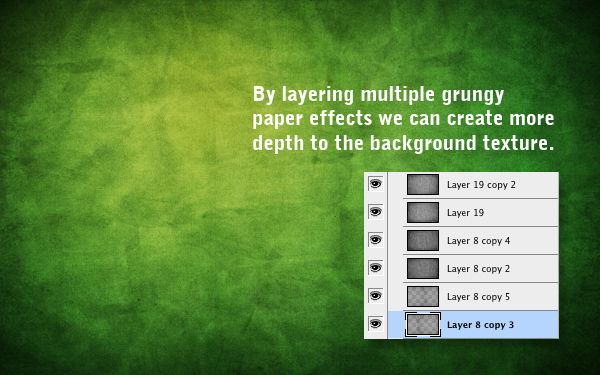
Now to get a really distressed look, I then copied this layer, spun it around 180′ and set it to 20%. Then I brought in a few more layers of paper texture (using different textures, mostly from Bittbox) and set them all to faint overlays, one on top of the other.
This was partly for the extra distress, but also because I realised that the textures looked a bit grainy and not small and sharp. So by combining extra textures and then fading it all back, I can get a nicer, sharper overall look.
Anyhow as you can see in the screenshot there are six layers here. Don’t forget if you are a Plus member you can download the PSD file for this tutorial and take a look in there yourself!
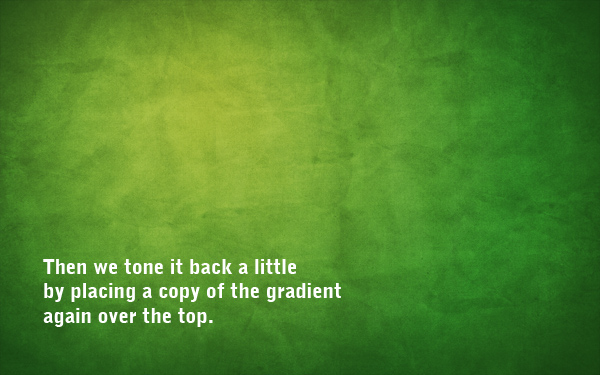
Step 5
Now I duplicated the original background gradient, placed the duplicate layer above all the textures and set it to 40% Opacity—this tones back the texture so it’s not quite so grungy!
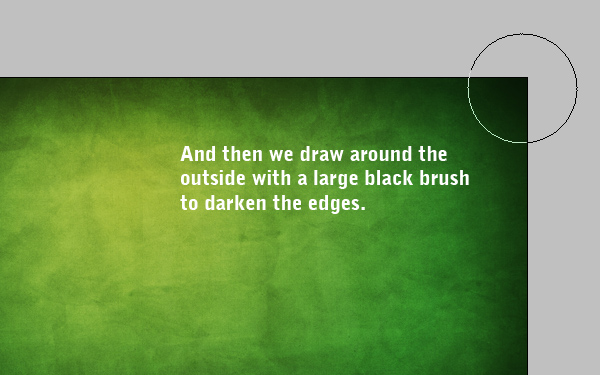
Step 6
Now we create a new layer over the top and using a large, soft, black brush, add some black to the edges. It’s worth toning back the opacity to about 30% and Overlay. You can then duplicate the layer and run a heavy Gaussian Blur over it (set to about 32px). That way the edges really soften out.
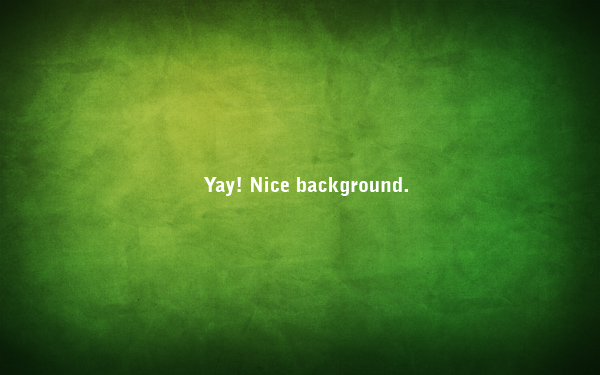
Step 7
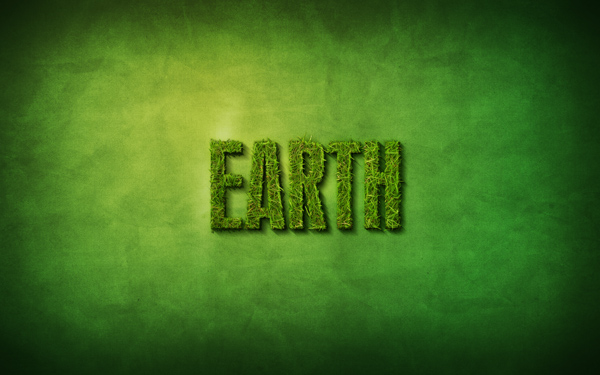
OK, we now have a nice background!
Step 8
OK, we are now ready to make some grass text. To do that, we’re going to need some nice pretty grass to cut. After a lot of searching, I finally found this lovely photo on Flickr of grass.
So download the image at full-size and copy it on to your canvas.

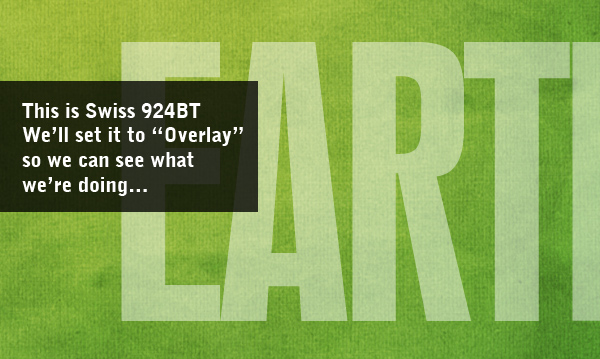
Step 9
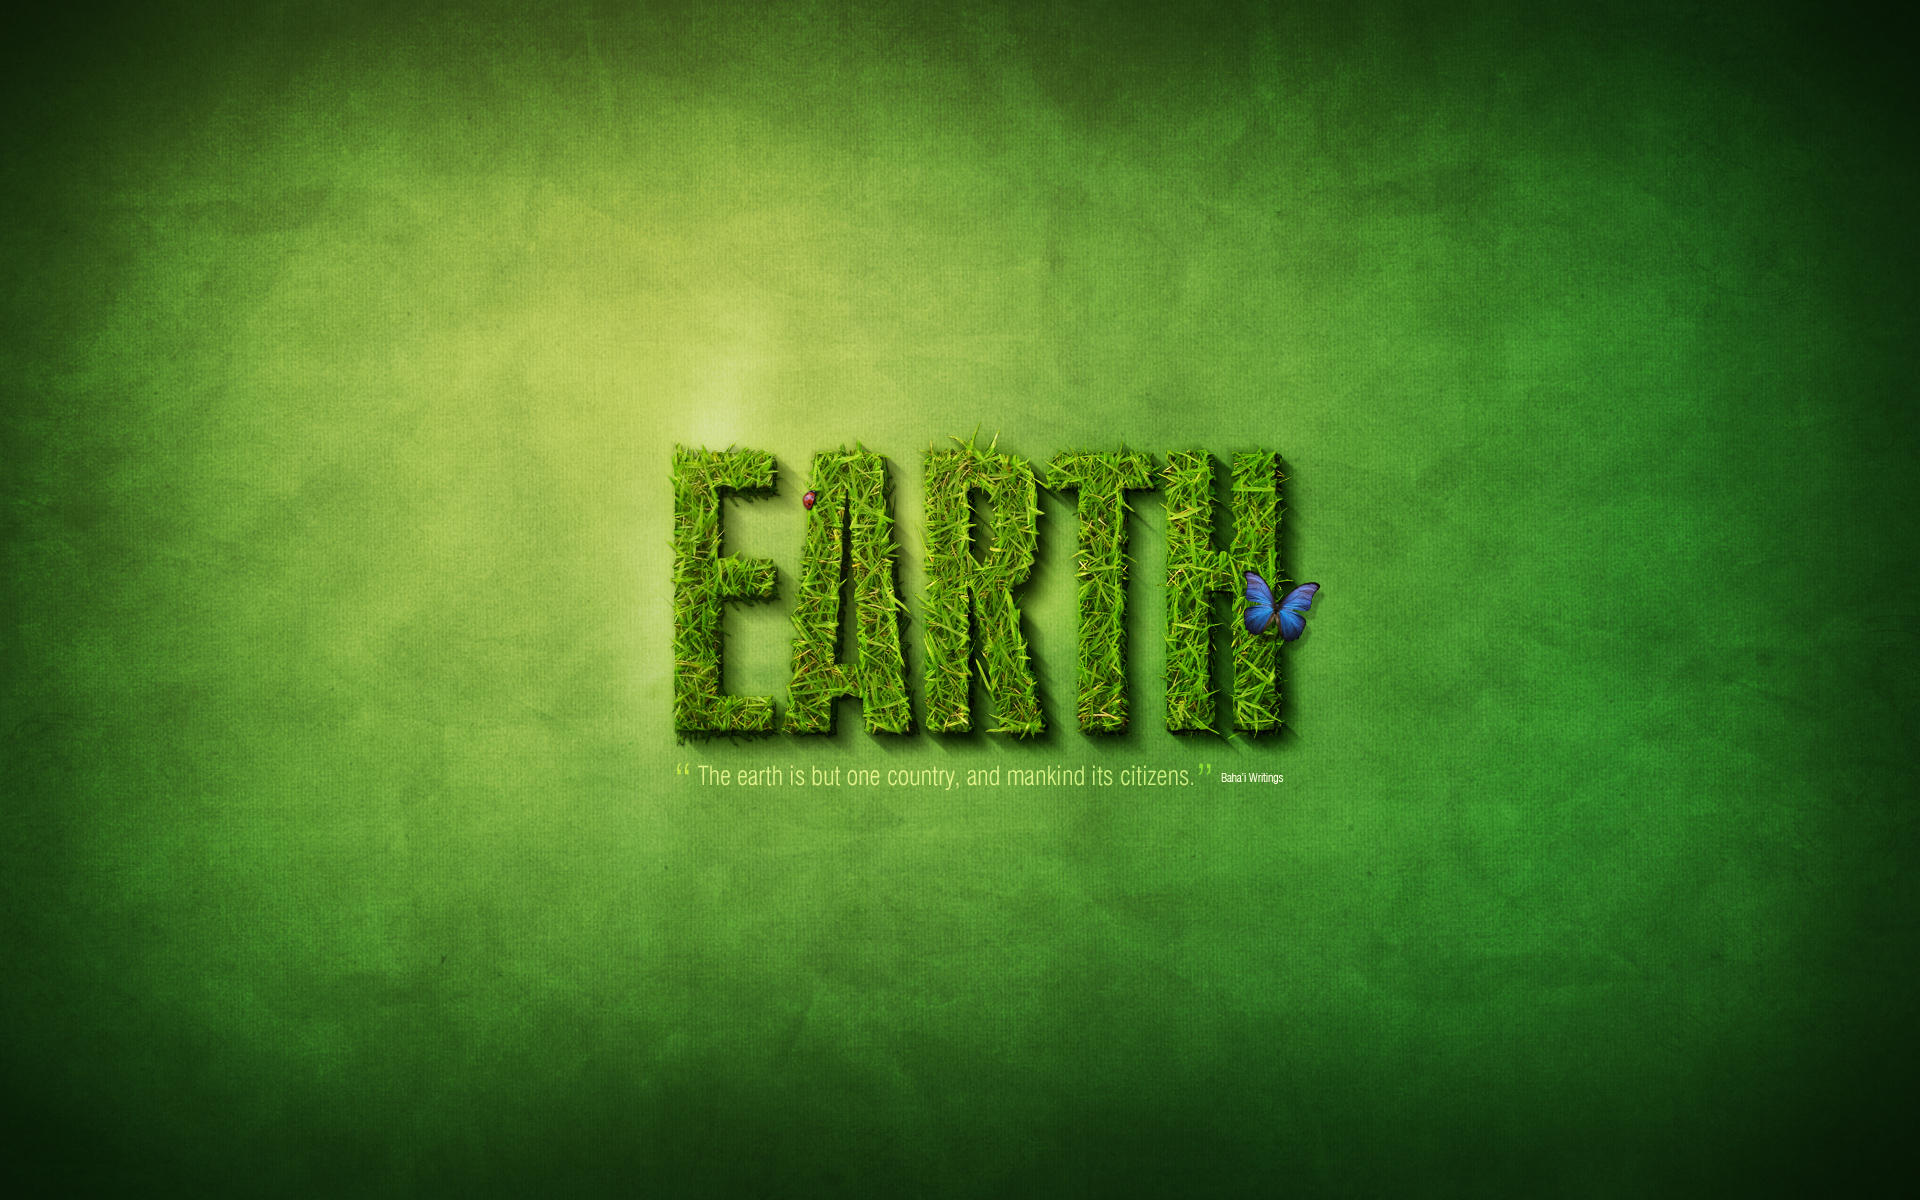
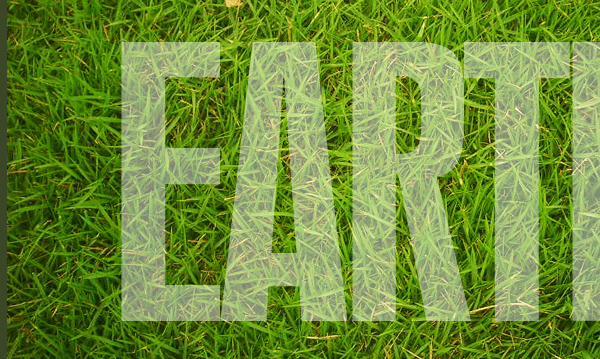
Next we need some type. So select a font you want to cut out with. I chose Swiss 924BT, which is fat and condensed type. I thought it looked nice and grand. And I’ve written the text "EARTH". That’s because I’m making five of these wallpapers—earth, water, fire, air, spirit … it’s like that cartoon I used to watch as a kid, Captain Planet!
Anyways, so just set your text out in white and set it to Overlay and like 50% Opacity. This layer won’t actually show in the end, it’s just a guide layer.
Step 10
OK, so here’s the text on top of the grass we got earlier.
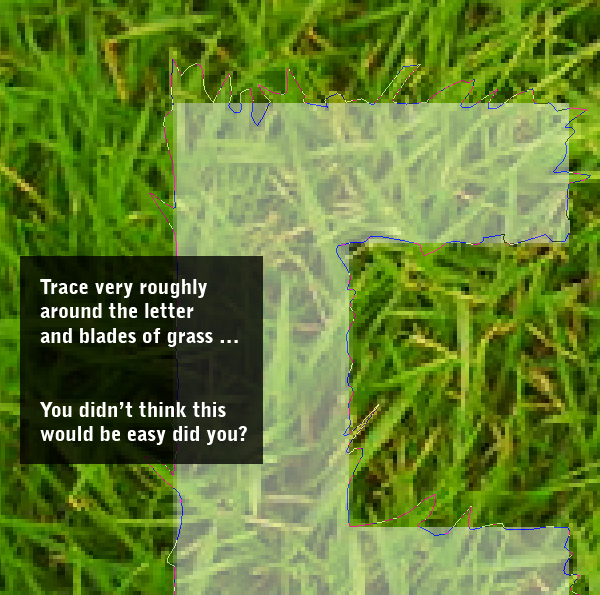
Now a bit of planning! To make text out of grass, it’s not going to be enough just to stencil out the grass. Rather we need it to look all rough, with bits of grass sticking out the edges. To do that, we’re going to use the letter shapes as a rough guide and then trace roughly around them and periodically jut out to trace around blades of grass.
I’ll warn you now, it’s very tiresome!
Step 11
OK, so here we are tracing. You should use the Pen Tool (P) and frankly, if you’re not handy with it before you start, you will be by the end!
Notice how in the parts where my path juts out, it sort of follows individual blades of grass. That way when you have the final cut-out they will look like pieces of grass sticking out.
Step 12
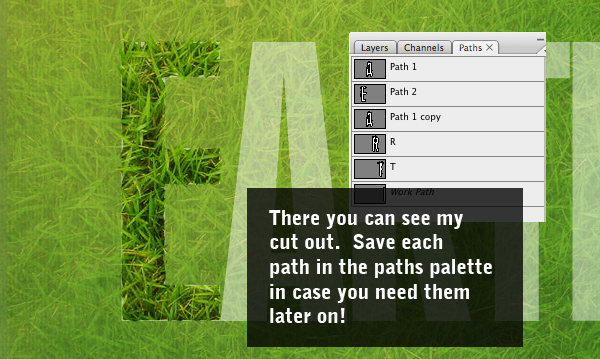
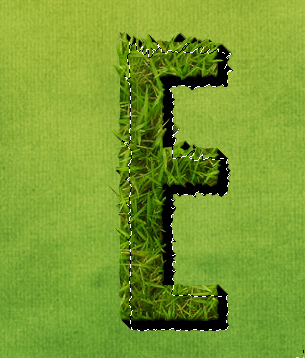
When you’ve finished your path, it’s best to save it in the Paths Palette. You can do this by switching to that palette and then clicking the little down arrow and choosing Save Path. That way if you need the path again later, you can grab it.
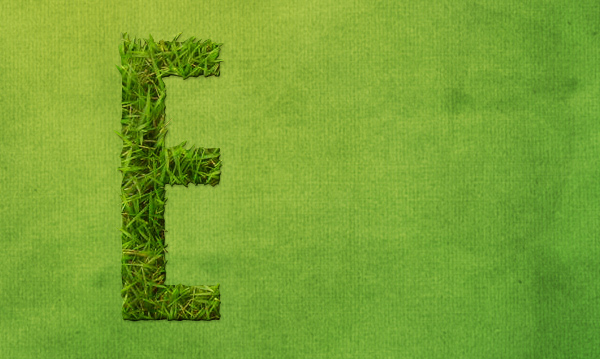
Anyhow, double-click the path to get the selection and go back to your grass layer. Duplicate the grass layer so you still have more grass for the other letters, then invert your selection (Ctrl+Shift+I) and cut away the excess grass. In the screenshot I’ve faded back the duplicate grass layer so you can see the cut out "E" part.
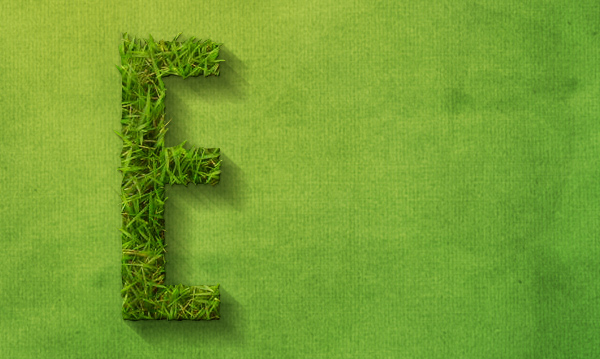
Step 13
OK, so here we have our "E" on the final bakcground. As you can see, it looks only slightly better than if we’d just used the letter to stencil out the grass without bothering to trace. But that’s OK, what it needs is a bit more depth. After all, if that letter was really sitting there, we should see some shadow and sides to it.

Step 14
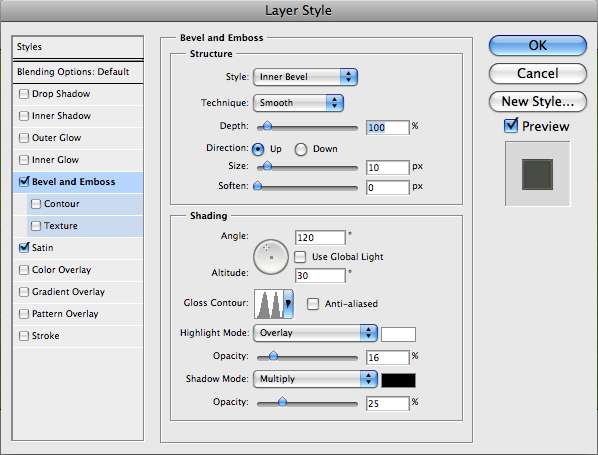
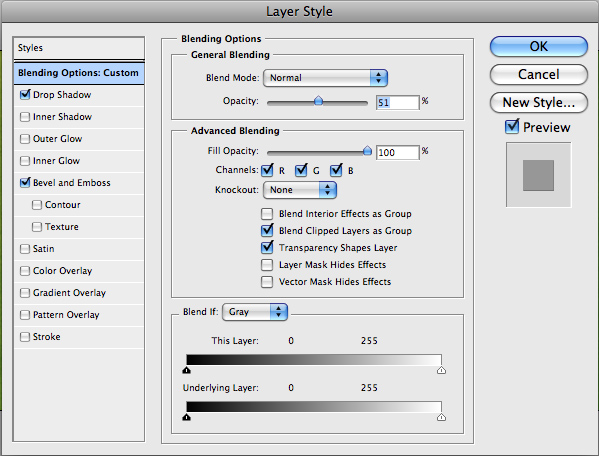
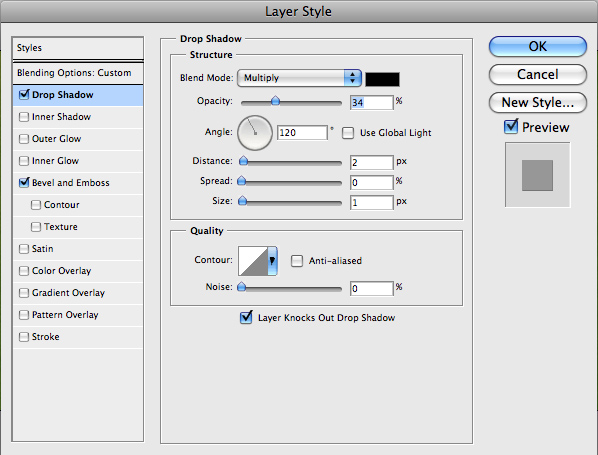
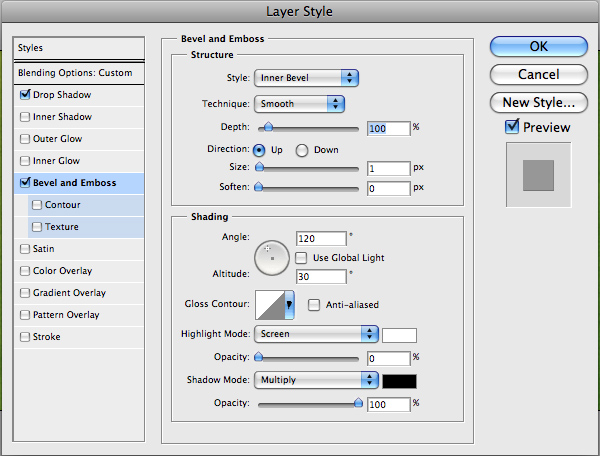
First of all though, we’ll add some layer styling to give it a bit more of a three dimensional look. The styles are shown below.

Here’s the first set of layer styles…

Step 15
Now duplicate that layer, then clear the layer style off the duplicate, so we can add some more styles. This time add the styles shown below…
Here’s the second set of layer styles… (Note that it’s 51% Opacity so it’ll blend in with the previous layer)
Step 16
So this was all just experimental, and it kinda looks OK, but obviously has a long way to go. Now we’ll add some shadow. For that we’ll use a technique that I demonstrated in a previous tutorial, Using Light and Shade to Bring Text to Life
The idea is to make a three dimensional look. So Ctrl-click the grass layer and then in a new layer below, fill it with black. Then press the down arrow once and the right arrow once and fill it again, then repeat over and over until you get an effect like that shown. I think that was about 15 steps of filling.
Step 17
Now we run a Filter > Blur > Motion Blur on our shadow with a 45′ angle and a distance of about 30. Then set the text to a low opacity of about 50%. You should have something that looks like the screenshot below.

Step 18
Now move the shadow layer down and to the right and magic happens! All of a sudden it looks like the letter is casting a shadow. Pretty neat!
Step 19
Now I duplicated this layer three times. Each time I erased a bit of it away so that as the shadow is closer to the text it gets darker. I set these layers to Multiply.
Step 20
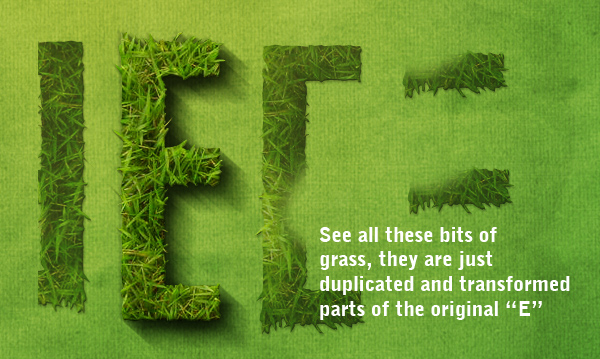
So this text is looking pretty cool, but for that extra bit of depth we should add some bits of grass in the background/shadow area. Rather than cutting out more grass, we can just use this current letter transformed about so that it’s not obvious that we’re hacking it together.
So as you can see below I created a few pieces of grass. They are just cut up bits of our main letter.
Step 21
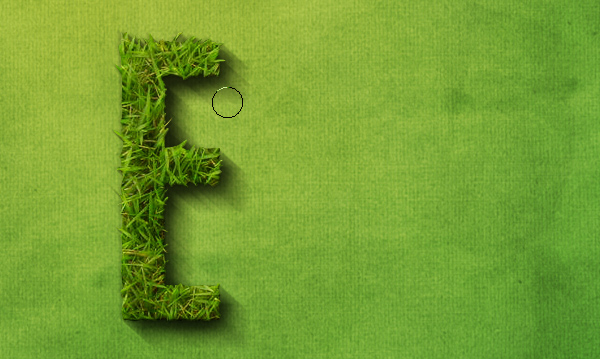
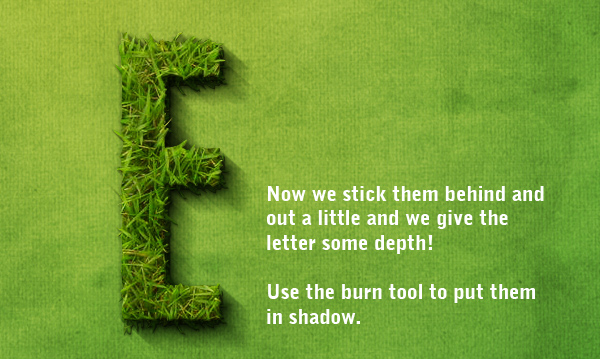
Now by moving those pieces into the shadow areas, we can make it look like there is grass sticking out and it’s a real 3D object made from grass!
Because these new grass bits are in shadow, you might want to use the Burn Tool (O) to darken them appropriately.
Step 22
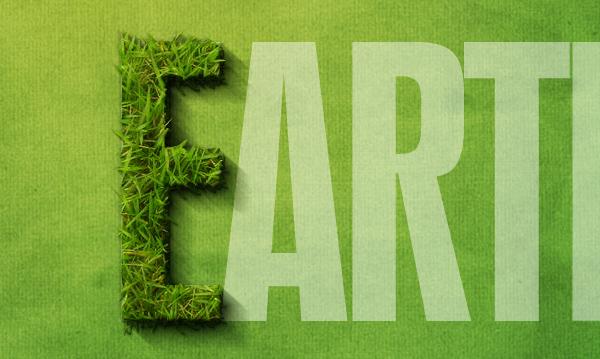
So yay, one letter down … four to go! Good thing we didn’t choose a long word like erm I don’t know … laborious!
Step 23
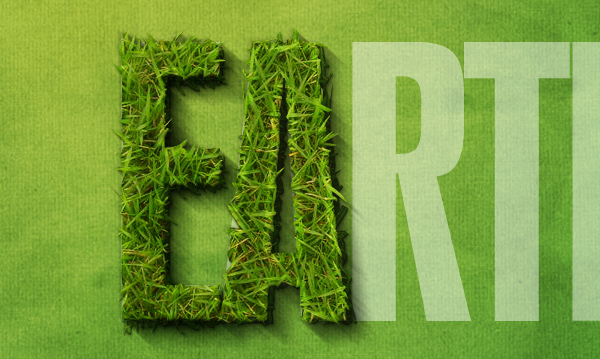
Using the exact same technique … here is the A;
Step 24
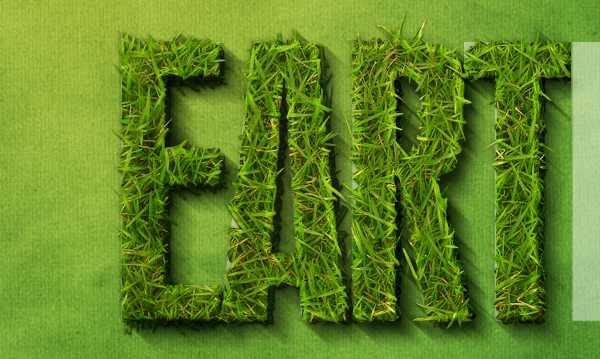
and the R and T … you get the picture.
Step 25
And finally, the whole word! The only extra thing I did here was to move the letters apart a little. Each letter is in its own Layer Group which makes moving it around much easier.
Step 26
Now nice as it’s looking, our text is a little lonely and monotonous. So in this last section we’ll add a few more elements to the design. Note we don’t want to overdo it, though, because I want this to be a desktop background, so space it is important (for all my icons!).
So first up, let’s add some extra text. Here I’ve placed a nice quote about the earth and unity taken from the Baha’i faith (that’s my religion!). I love quotes, because it means we get three parts to decorate—the quote, the quotation marks and the source.
The text is in a variation of Swiss which is thinner, but still condensed. Using multiple fonts from the same family (heavy, light, etc) is a good, safe bet for keeping your type looking coherent.
So here I’ve set the quote to Overlay and 50%, then duplicated the text and set it to Screen and 50%. Then I’ve added quotation marks in the same Swiss font, but made them extra large and a bright shade of green. Finally, the source of the quote is in teeny letters and centered vertically. And, of course, the whole quote has been measured out so it’s exactly the length of the main "EARTH" text.
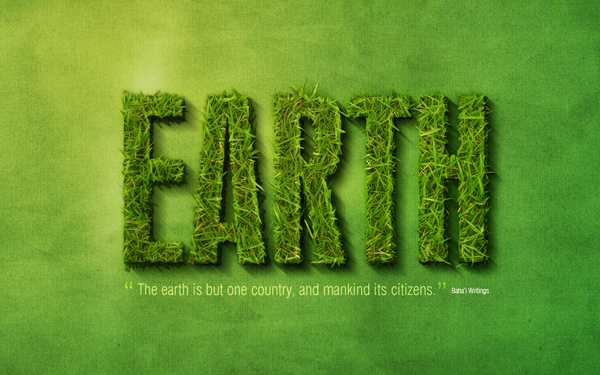
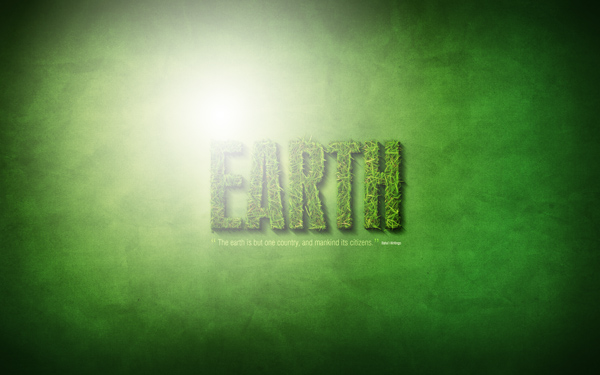
Step 27
Next we’ll add a bit of a highlight to the scene. To do this, create a new layer above all the rest, and using the Gradient Tool (G), draw a gradient of white -> transparent towards the top left. Then set this layer to Soft Light and 50%. This will turn it into a nice subtle bit of lighting.
Step 28
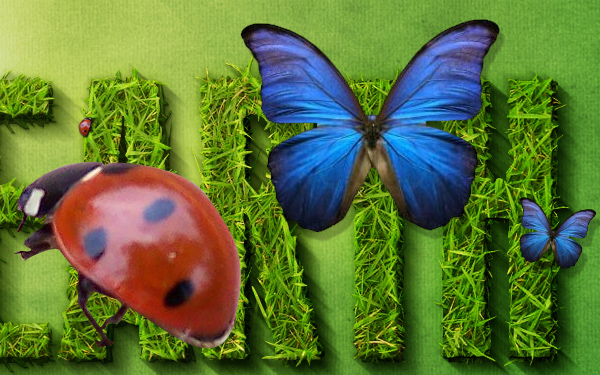
Now we’ll add two eye-catching elements to offset all the green. These will be a brilliant blue butterfly and a little red ladybug. I used the excellent everystockphoto Web site that searches a ton of free stock Web sites for you to find two awesome images to use: Ladybug | Butterfly
Step 29
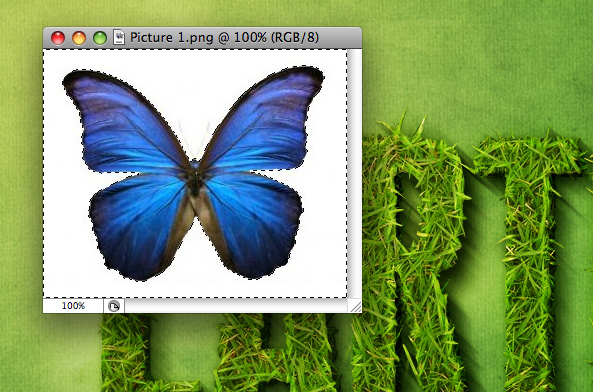
Placing the images is pretty easy. First the butterfly. We just open up the image in Photoshop, use the Magic Wand Tool (W) to select all the white area, then go to Select > Modify > Expand and expand the selection by 1px to make sure we’ve got it all. Then press Ctrl+Shift+I to invert the selection and copy the butterfly over to our main canvas.
The ladybug I selected needs to be cut out of it’s image. To do that I used the Pen Tool (P) and traced around the little guy and then just cut him out that way.
Step 30
So here are our two extras. As you can see, the lady bug looks a bit weird actually because I did a quick’n'dirty job of cutting him out. But that’s OK because he’s going to be tiny so you won’t be able to see the details anyway.
So paste them in and then shrink them down and place them appropriately. It’s best if they aren’t close together, because that way they’ll balance each other.
I added a drop shadow to each. With the ladybug it’s a very close shadow because he’s small and walking on the grass. With the butterfly, I set the distance to about 10px because he’s hovering in the air and therefore the shadow lands a little ways away.
No comments:
Post a Comment